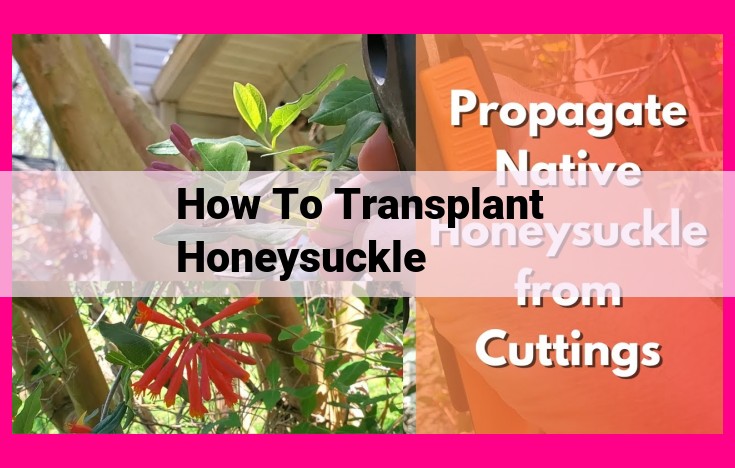
A Comprehensive Guide To Transplanting Honeysuckle: Soil Preparation, Site Selection, And Aftercare

Transplanting honeysuckle involves preparing the soil and selecting a suitable location with well-drained soil and ample sunlight. Carefully dig around the plant, preserving the root ball. Plant the honeysuckle in the new location, ensuring the root ball is level with the soil surface. Water deeply and mulch around the base of the plant. Prune any damaged branches, and provide regular watering and fertilization to support healthy growth. Monitor for any disease or pests and address them promptly to maintain the plant’s vigor.
Essential Materials for Successful Honeysuckle Transplanting
Transplanting honeysuckle can be a rewarding experience, adding vibrant beauty and sweet fragrance to your garden. To ensure a successful transplant, gathering the essential materials is paramount. Let’s delve into the must-haves for a seamless transition:
The Right Honeysuckle Species
Start by choosing the honeysuckle species that best suits your climate and preferences. Whether you desire fragrant blooms, lush foliage, or berrying varieties, research different types to find the perfect match.
Shovel and Pruning Shears
A sharp shovel will help you carefully dig around the plant’s base, while pruning shears will aid in removing excess branches and shaping the plant.
Compost and Mulch
Compost provides nutrients and improves soil structure, aiding in root establishment. Mulch helps retain moisture, regulate soil temperature, and suppress weeds.
Watering Can or Hose
Water is crucial for a newly transplanted honeysuckle. A watering can or hose will allow you to gently hydrate the plant and promote root growth.
Stakes or Trellises (Optional)
For climbing varieties, stakes or trellises provide support and encourage the plant’s upward growth, maximizing space and enhancing aesthetics.
Transplanting Honeysuckle: A Step-by-Step Guide
Soil Preparation: Enriching the Foundation
Before embarking on the transplanting journey, it’s crucial to prepare the soil that will nurture your honeysuckle. Amend the soil with compost to enhance its fertility, providing essential nutrients for healthy growth. Dig a hole twice the width of the root ball and slightly deeper than necessary, allowing for ample room for the roots to spread.
Optimal Time for Transplanting: A Matter of Timing
Timing is everything when it comes to transplanting honeysuckle. The ideal time to make the move is during the plant’s dormancy period, typically in late fall or early spring. This period provides the plant with less stress and allows it to establish itself before facing the challenges of active growth.
Selecting a Suitable Location: Finding the Perfect Spot
Choosing the right spot for your honeysuckle is paramount. Select a location with well-drained soil that receives full sun to partial shade, allowing for optimal growth. Ensure there’s ample space for the plant to reach its full potential, leaving at least 6 feet of clearance around it.
Digging and Removing the Plant: A Delicate Operation
Gently dig around the honeysuckle plant, keeping a generous distance from the stem. Carefully loosen the soil while trying to preserve the root ball intact. Use a sharp shovel to sever any stray roots and gently lift the plant from its former home.
Planting the Honeysuckle: A New Beginning
Place the honeysuckle in the prepared hole, ensuring that the top of the root ball is level with the ground surface. Backfill the hole with soil, gently tamping it down to eliminate any air pockets. Water the plant thoroughly to settle the soil and provide moisture.
Watering: Nurturing the Transplanted Honeysuckle
Water the transplanted honeysuckle regularly, especially during the establishment phase. The soil should remain moist but not soggy. Water deeply at the base of the plant, allowing the water to penetrate the root system.
Mulching: Protecting and Nourishing
Spread a layer of organic mulch around the base of the transplanted honeysuckle. Mulch helps retain moisture, suppresses weeds, and adds nutrients to the soil, promoting healthy growth and a thriving plant.
Post-Transplanting Care for Honeysuckle Vines
After transplanting your honeysuckle vine, it’s crucial to provide post-transplanting care to ensure its successful establishment and healthy growth. Here are the essential steps to follow:
Pruning
Pruning is an important post-transplanting task that helps shape and encourage healthy growth in your honeysuckle. Trim any damaged or broken branches to remove potential disease entry points. Remove weak or spindly stems to promote strong and vigorous growth. Pruning also helps control the size and shape of your honeysuckle, ensuring it stays within desired boundaries.
Fertilization
Fertilizing provides essential nutrients to support the growth and development of your transplanted honeysuckle. Choose a balanced fertilizer that meets the specific needs of honeysuckle plants. Apply fertilizer according to the instructions on the packaging, avoiding over-fertilization which can damage the plant.
Watering
Regular watering is crucial, especially during the establishment phase following transplantation. Water deeply and consistently, ensuring the soil remains moist but not waterlogged. Avoid letting the soil dry out completely, as this can stress the plant and hinder its growth. Monitor the soil moisture levels and adjust the watering frequency accordingly.
Disease and Pest Management
Keep an eye out for signs of disease or pests that may affect your honeysuckle after transplanting. Common problems include aphids, thrips, and powdery mildew. If you notice any symptoms, take prompt action to control the issue using appropriate pesticides or natural remedies. Monitoring and managing diseases and pests helps ensure the health and vitality of your honeysuckle vine.