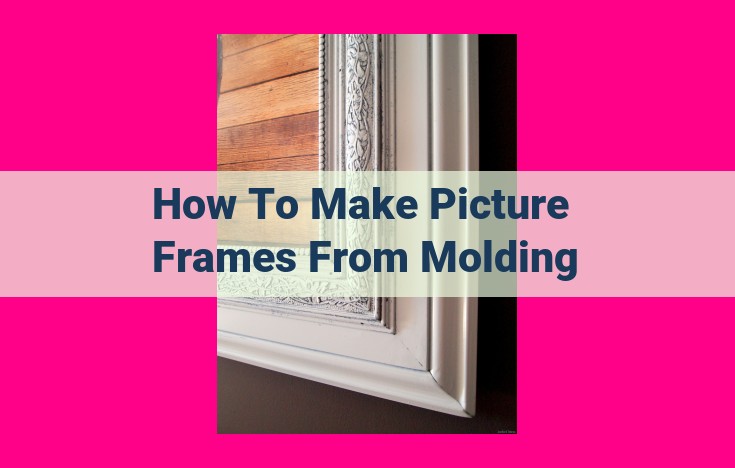
Diy Picture Frame Creation: A Step-By-Step Guide To Crafting Custom Frames

To create picture frames from molding, essential components include materials like wood, metal, and glass, along with tools such as saws and miter boxes. Choose the desired molding type (e.g., flat, convex) and joint technique (e.g., mitered joint). Mat the picture and mount it on a backing. Glaze the frame with clean glass and glazing materials. Finally, securely mount and hang the frame to display your artwork.
The Essential Components of Picture Framing: Materials and Tools
Embarking on the journey of picture framing can be an incredibly rewarding experience. To ensure a successful endeavor, it’s paramount to gather the essential components, namely the materials and tools.
Materials: The Foundation of Picture Framing
The materials used in picture framing play a vital role in determining the overall quality and aesthetics of the finished product. The primary materials used are:
- Wood: The classic and most versatile choice for picture frames, offering a wide range of colors, textures, and durability options.
- Metal: A modern and sleek alternative to wood, metal frames provide a touch of sophistication and elegance.
- Plastic: A lightweight and affordable option, plastic frames are ideal for displaying smaller or more fragile artworks.
- Glass: The transparent protective layer that covers and preserves the artwork, glass comes in various thicknesses and clarity levels.
Tools: Empowering the Picture Framing Process
The right tools are indispensable for efficient and precise picture framing. The following are considered essential:
- Saws: Used to cut molding and other materials to the desired length and angles.
- Miter Boxes: Essential for creating precise mitered joints at the corners of frames.
- Clamps: Hold pieces together securely while gluing or nailing.
- Hammers: Used for driving nails or staples into frames.
Molding and Joint Techniques in Picture Framing
When it comes to picture framing, the moldings and joints play a crucial role in framing your precious artwork. These two elements not only enhance the aesthetic appeal of the frame but also ensure the durability and longevity of your framed piece.
Types of Moldings
The world of picture frame moldings offers a vast array of options to complement your artwork and décor. From classic flat moldings to elegant convex and concave profiles, the choice is yours. If you’re aiming for a more contemporary look, consider bullnose moldings that create a softer, rounded edge.
Types of Frame Joints
Joining the frame corners securely and precisely is paramount for a well-crafted frame. Here are the three main types of frame joints:
-
Mitered Joints: These joints create a seamless 45-degree angle at each corner. They require precise cutting and measuring but provide a professional-looking finish.
-
Butt Joints: Simpler to construct than mitered joints, butt joints simply overlap the frame pieces at 90-degree angles. They offer a more rustic or industrial aesthetic.
-
Spline Joints: Spline joints involve inserting a thin strip of wood, called a spline, into a groove cut into the frame pieces. This method reinforces the joint, ensuring durability and stability over time.
Crafting Techniques for Picture Framing: Enhancing Your Artwork’s Appeal
The essence of picture framing lies not only in protecting your artwork but also in enhancing its aesthetic appeal. The following techniques will guide you through the meticulous process of crafting a custom frame that will showcase your treasured pieces with grace and elegance.
Matting: A Touch of Distinction
Matting serves two primary purposes: it protects your artwork from direct contact with the glass and it creates a visually pleasing border around the image. The choice of matting material is essential, with acid-free options such as museum board and conservation-grade mat board being highly recommended to prevent damage.
To cut a precise mat, use a mat cutter or X-ACTO knife. Measure and mark the desired opening and cut carefully along the lines. To mount the artwork, use acid-free adhesive tapes or hinges to attach it to the mat.
Backing: The Unsung Hero of Framing
Often overlooked, backing provides rigidity to the frame and protects the artwork from dust and moisture. Common materials used for backing include acid-free cardboard, foam core, and Gatorboard.
Cut the backing to the exact size of the frame. For added support, consider reinforcing the corners with corner brackets or metal L-brackets.
Glazing: Preserving and Protecting
Glazing involves the application of glass or acrylic over the artwork to protect it from UV rays, dust, and other environmental hazards. It also enhances the image’s visual appeal by eliminating reflections and glare.
Clean the glass thoroughly before installing it. Use glazing points or molding clips to secure the glass or acrylic in place. Seal the edges with glazing compound to prevent moisture from entering.
Mounting and Hanging: The Grand Finale
Mount the finished frame securely to the artwork using screws or nails. Choose appropriate fasteners based on the weight of the framed piece.
Hang the frame using D-rings and wire or picture hangers. Ensure that the frame is hung level and securely to prevent accidents.
By mastering these crafting techniques, you can elevate your picture framing skills to new heights. Protect and enhance your precious artwork while creating stunning displays that will grace your walls for years to come.